Server Setup
Account creation
To begin using puship a registration is needed, this procedure it’s easy and free of charge: Browse to the member page and click on register

Insert your data and click on create user

A mail containing a confirmation link will be sent t the given email address. Once the registration is confirmed it will be necessary to come back to the login page and insert the chosen Username and Password.
Puship application Creation
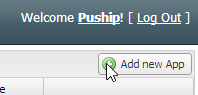
Clicking on the add new app button a new record representing your application will appear in the table below.
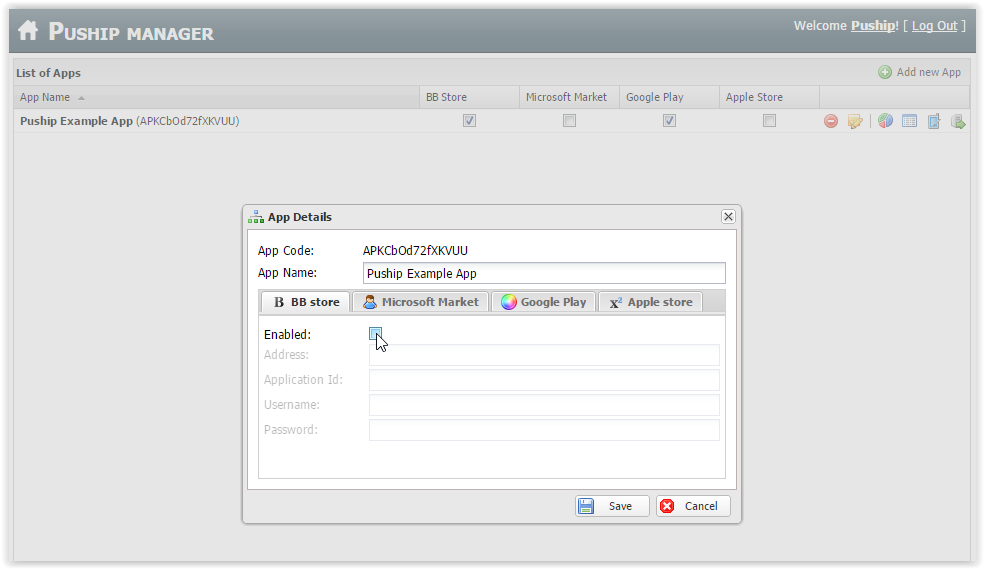
To configure it, click on the Configure button as shown in the following figure

A popup will be shown in which it will be possible to configure each store. It will be generated even the App Code (aka PushipAppId) that will have to be used to configure Puship on file www/js/index.js (I.E.: Puship.Register(data.registrationId, “APKCbOd72fXKVUU”);)
At this point is possible to configure each platform following the platform-specific guides.
Stores Setup
Apple Store
Push notification in an Apple environment are quite tricky to configure and have to be done in Mac OS
AppID Creation
Go to the Provisioning portal from this link and click on the + blue button to create a new application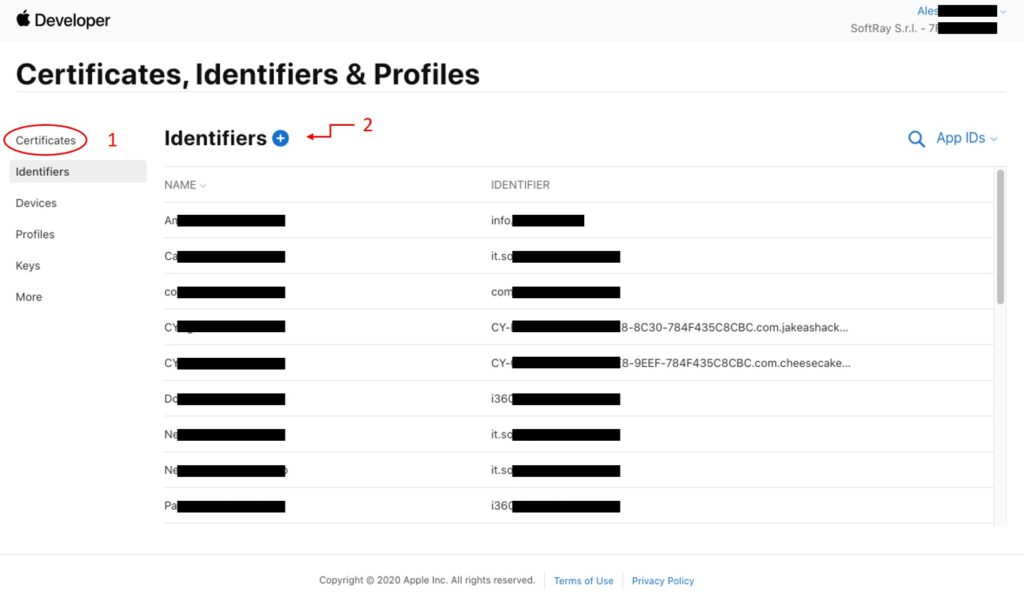
Select AppIDs and in the next screen select App for application type.
Press continue and in the next screen write the application name and the Unique Identifier you want to use, at the bottom of the screen enable Push Notifications, and then click on Continue. On the next screen confirm the creation of the application clicking on Register.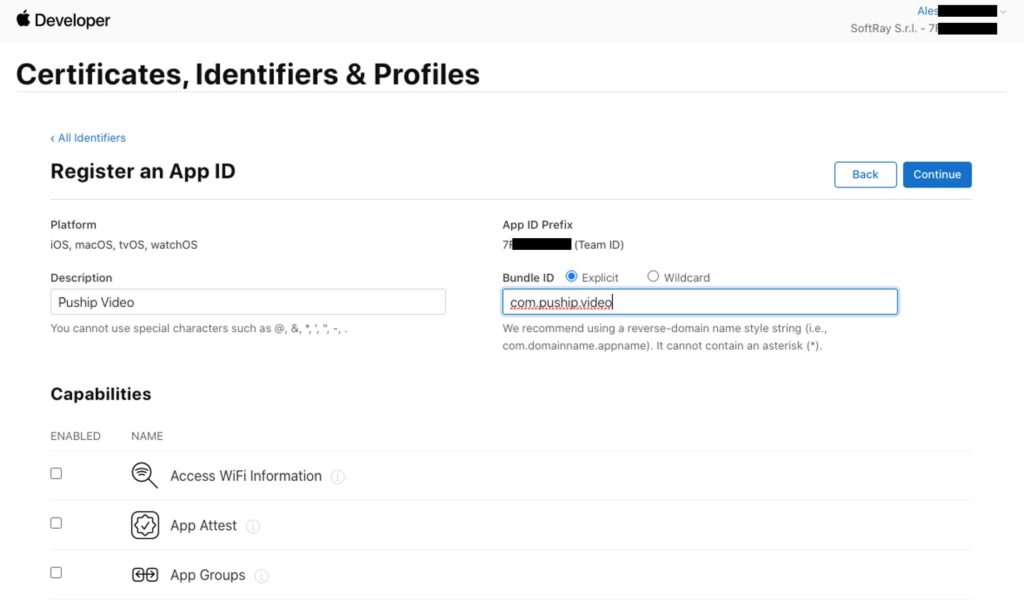
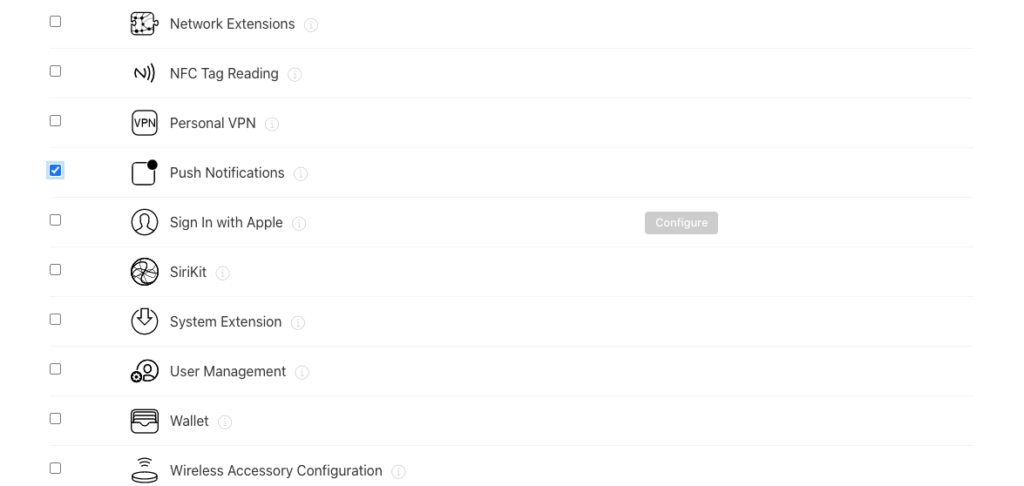
Enable the push notifications
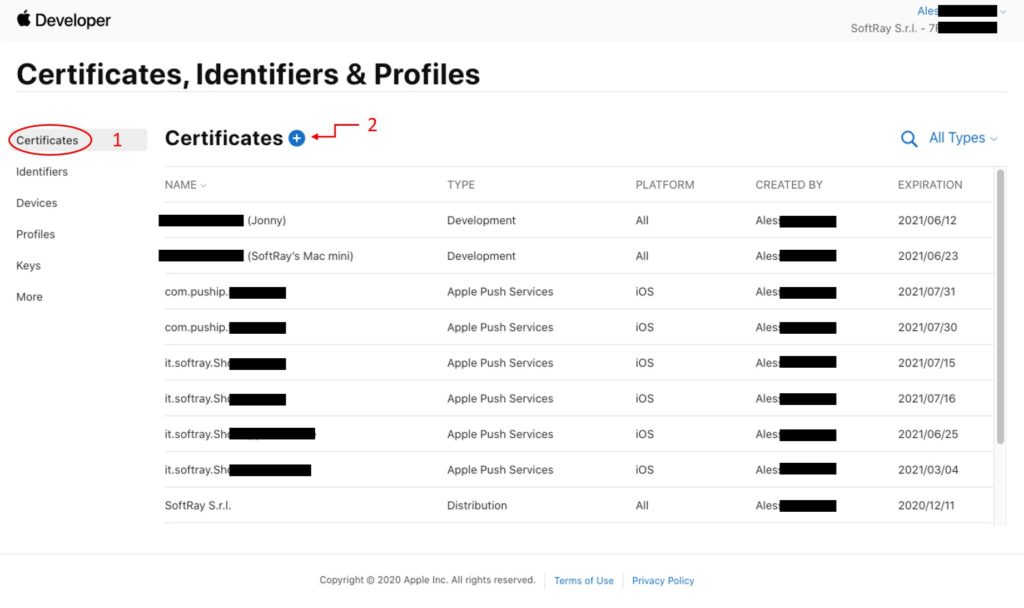
On the left menù click now on certificates and then on the + blue button on top to create a new certificate
 Select Apple Push Notification Service SSL (Sandbox e Production) as type of service, then press continue. This type is valid for both development and production, so you don’t have to create another certificate when you publish the application.
Select the app you are creating the certificate and then press again continue.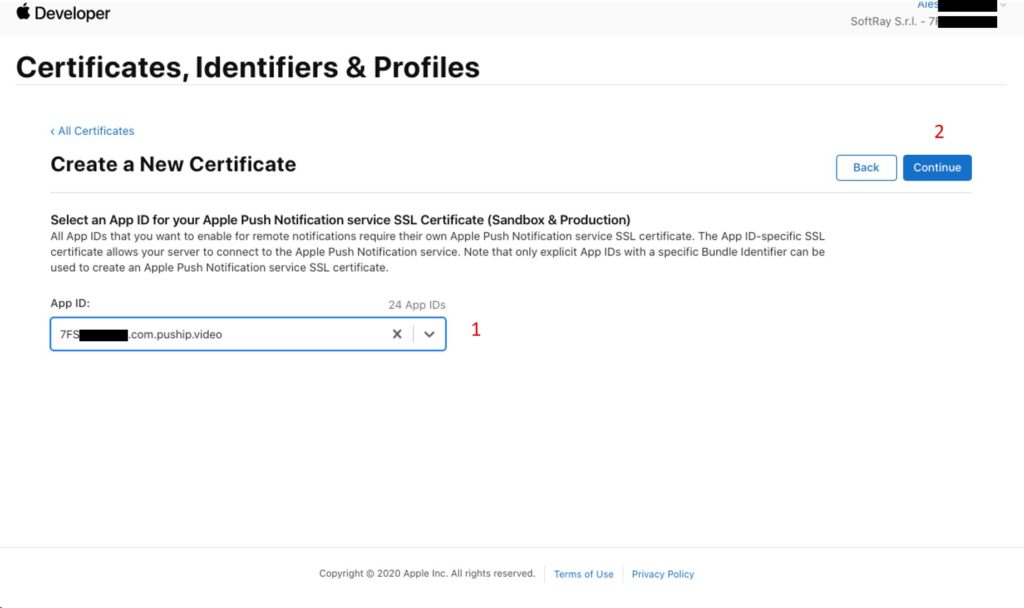
A screen will appear asking to start Keychan Access program from the Mac to generate the certificate.
To create the certificate go to Applications -> Utilities
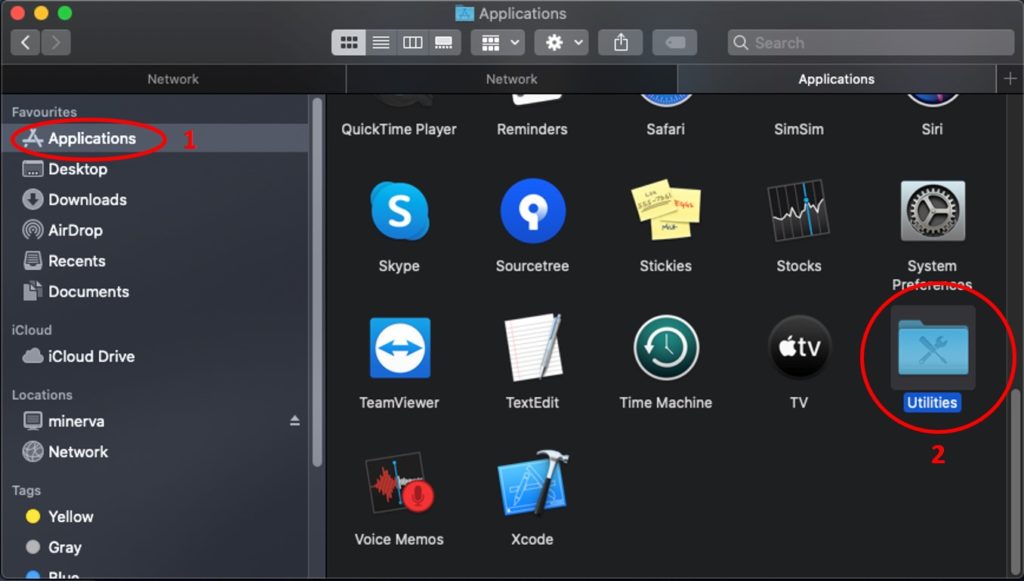
and run Keychain Access

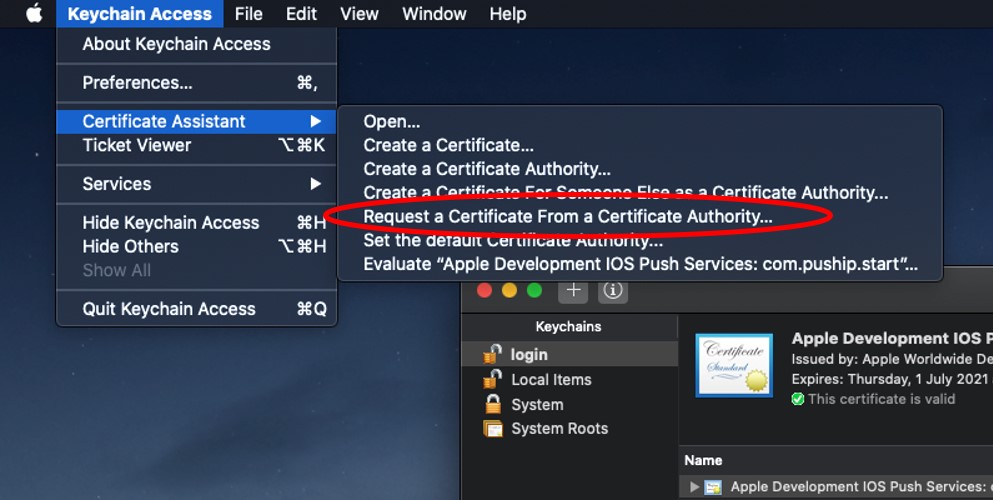
From the top left menu, click on Keychan Access -> Certificate Assistant -> Request a certificate from a Certificate Authority
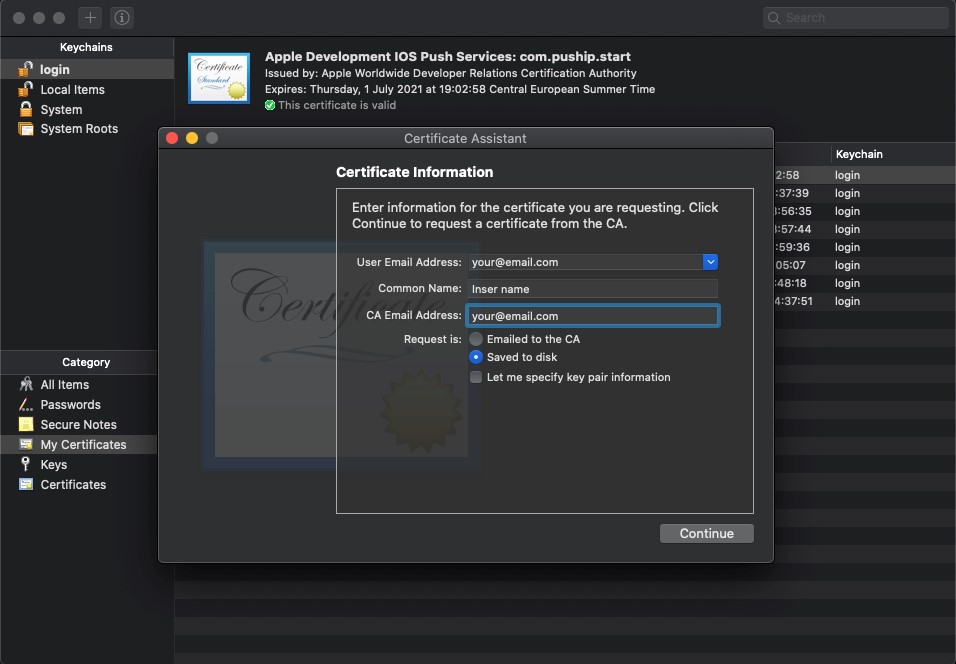
Fill the following form by entering your email and name, your email again and select Saved to disk, then click Continue
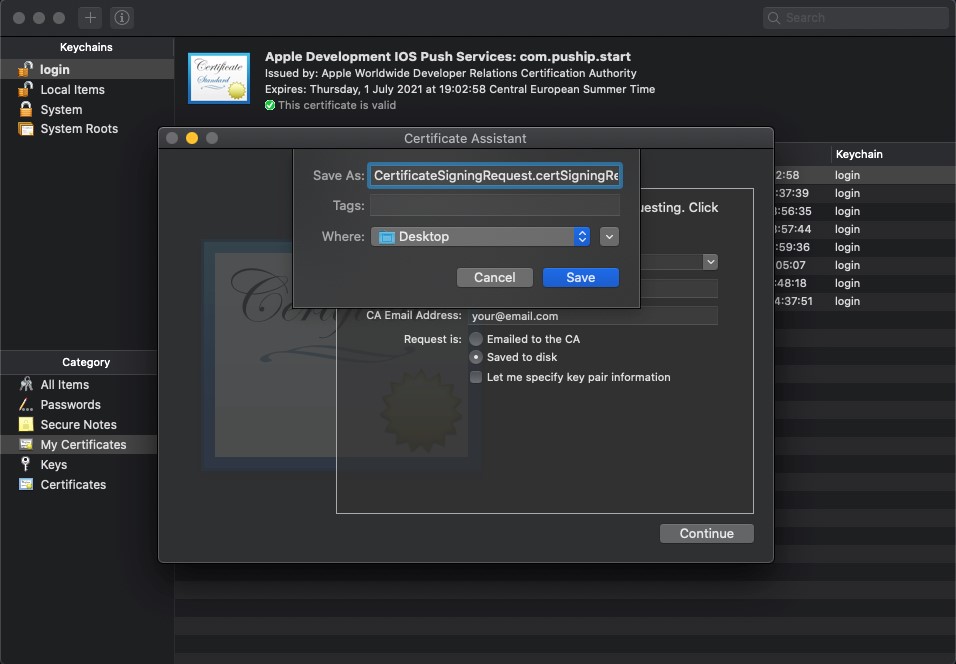
Save the certificated in your preferred location
Now go back to the page where the certificate is requested, upload the file you just created and click on Continue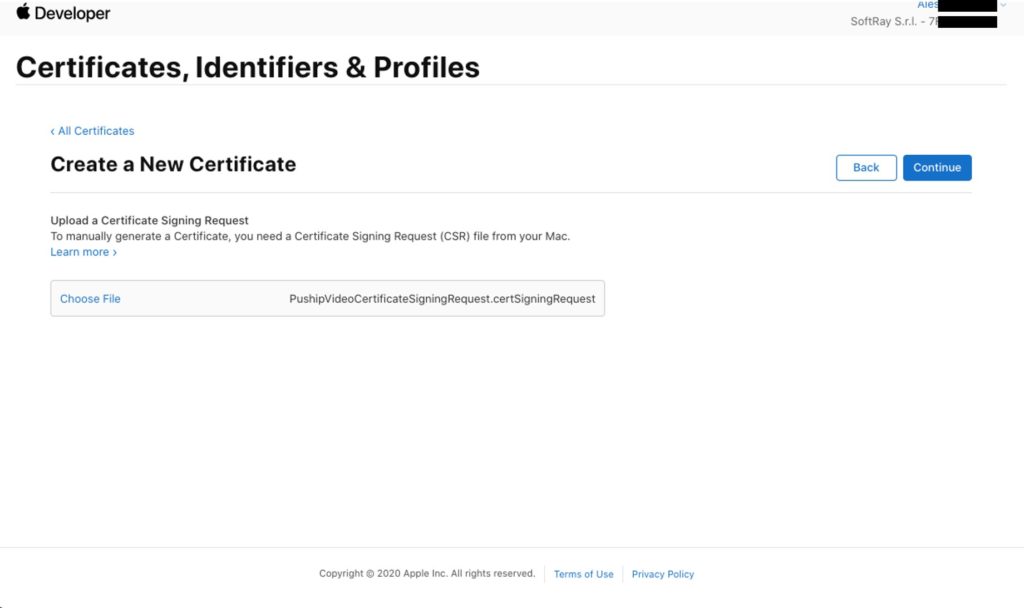
Download the certificate and run it, to import it among the machine certificates (just double click on it).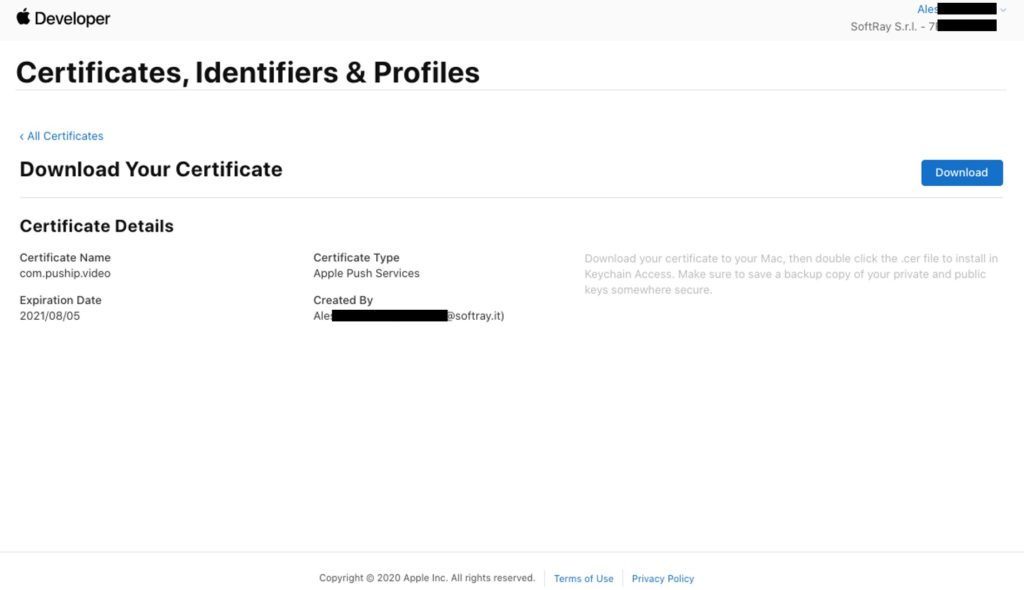
It’s possible to check if the import process has been completed correctly running the Keychain Access and looking at the My Certificates section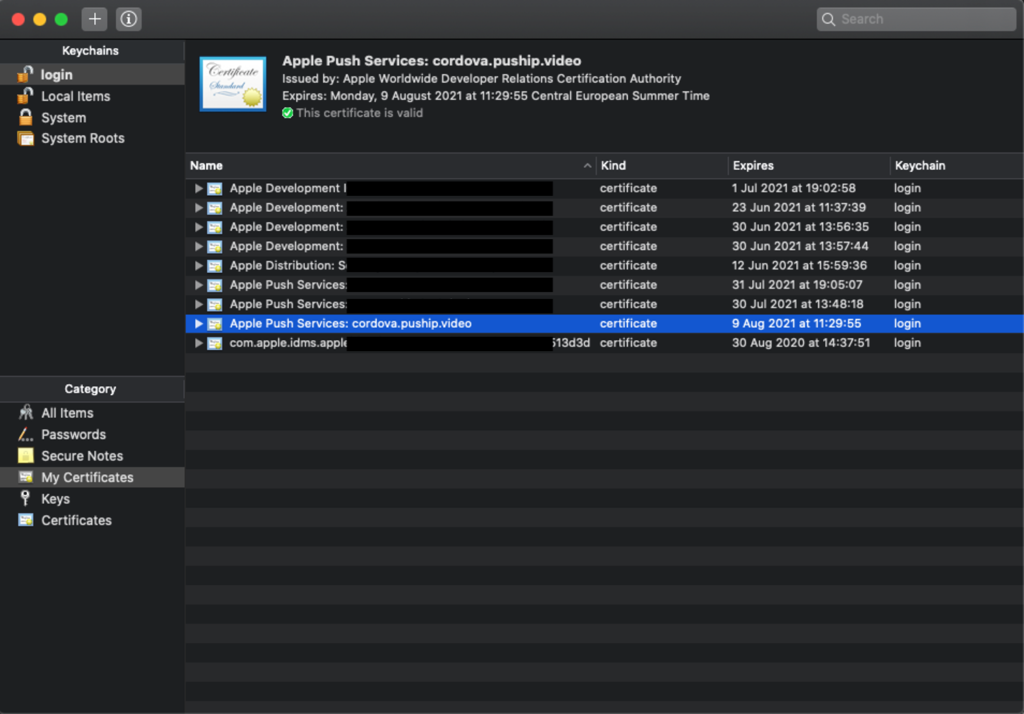
Export the Puship certificate
In order to generate the certificate needed by Puship, from the Keychain Access, right click on it and select Export “Apple Push… 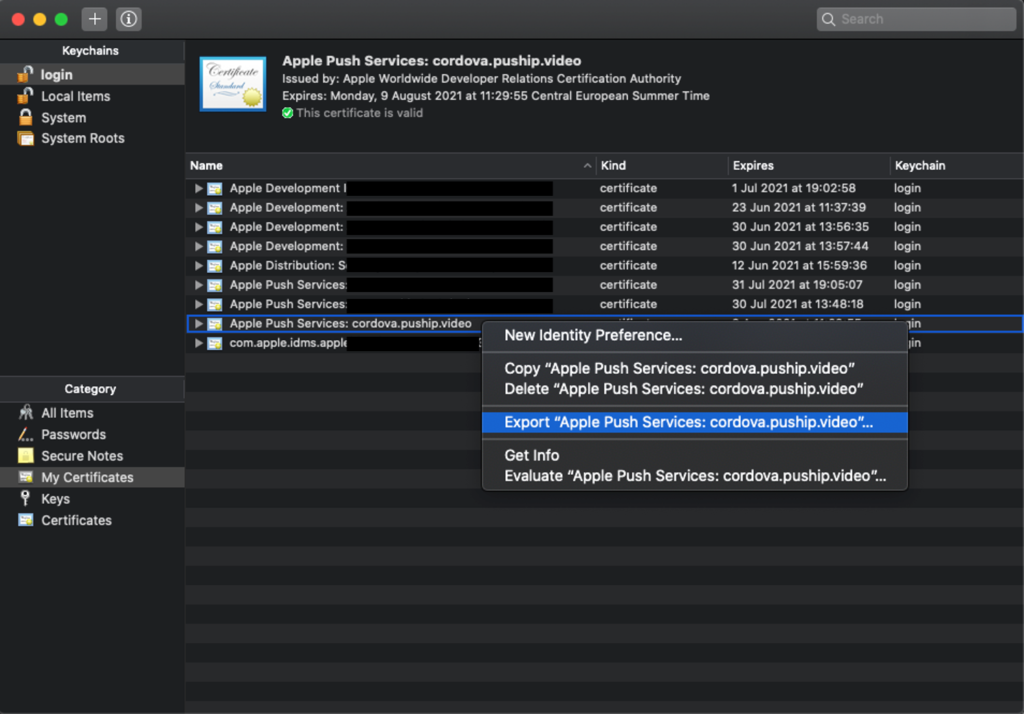
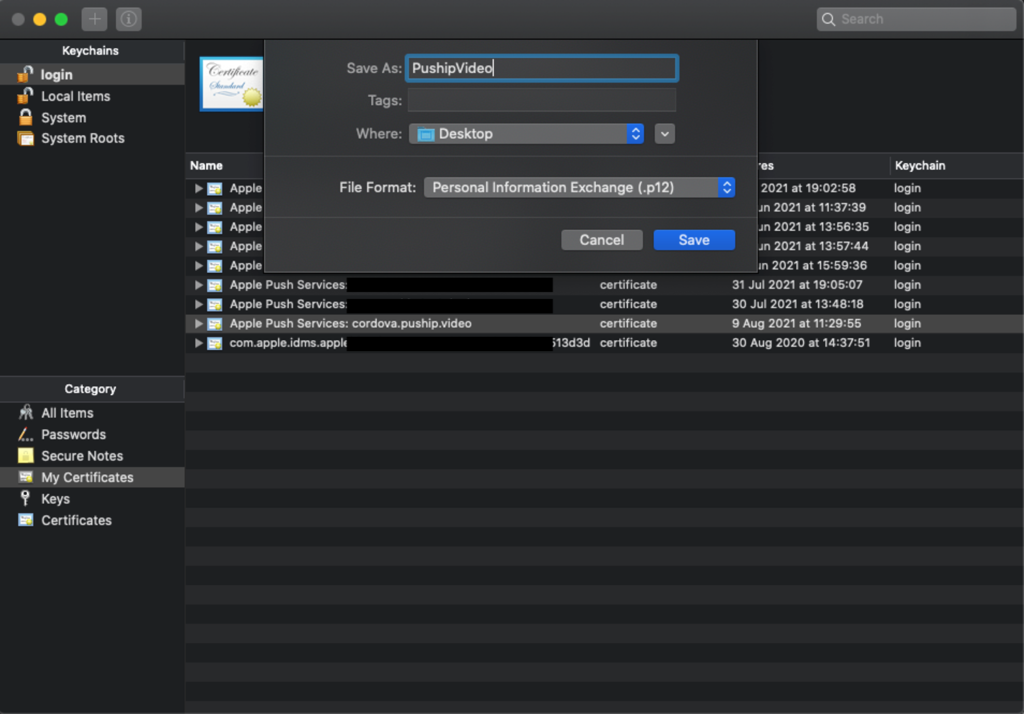
Insert a name for the certificate and store it in the preferred location
Insert the password to be applied to the certificate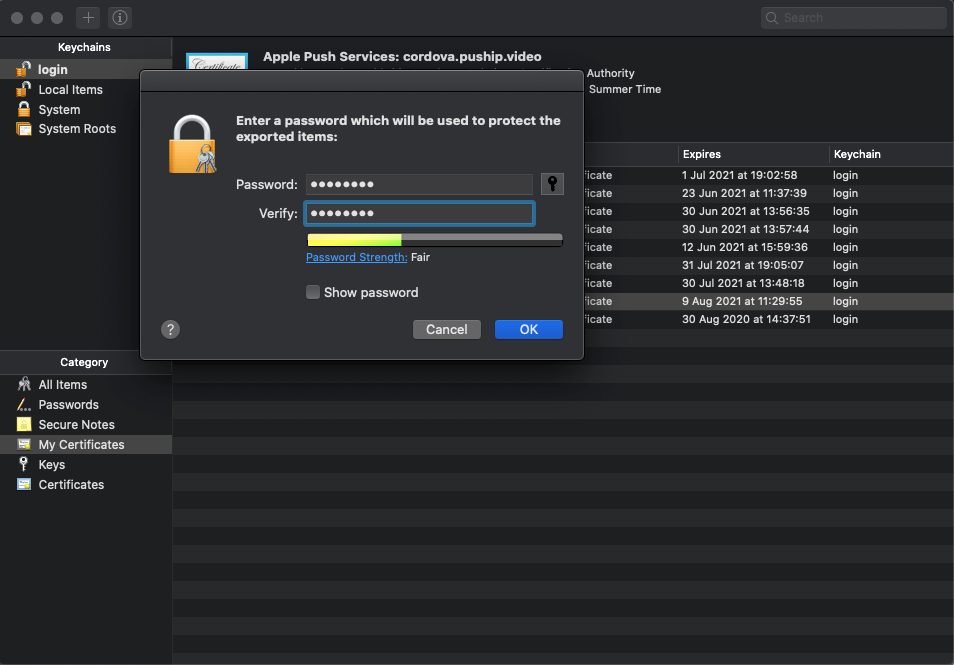
If requested, insert also the system password; Now the .p12 certificate will be available to be used with Puship.
Puship Server Configuration
To configure the Puship server:
- If the app hasn’t been created yet, follow point 2. If the app is already present, click on its Configure button.
- Click on Apple Store TAB:
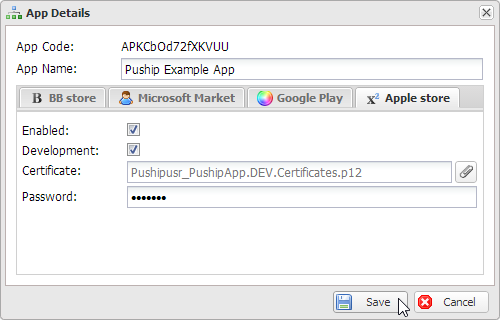
- Flag the Enabled field to Enabled the Apple Push service.
- Flag the Development field to enable sending for development devices (you will need to remember to remove this check when you publish the app on the store).
- Select the .p12 certificate created in the previous chapter and insert the password used to export it.
- Click on Save to complete the configuration. The server is now configured to send push notifications to the registered devices.

Provisioning Profile generation
From the left menu click on Profiles and then on the + blue button on top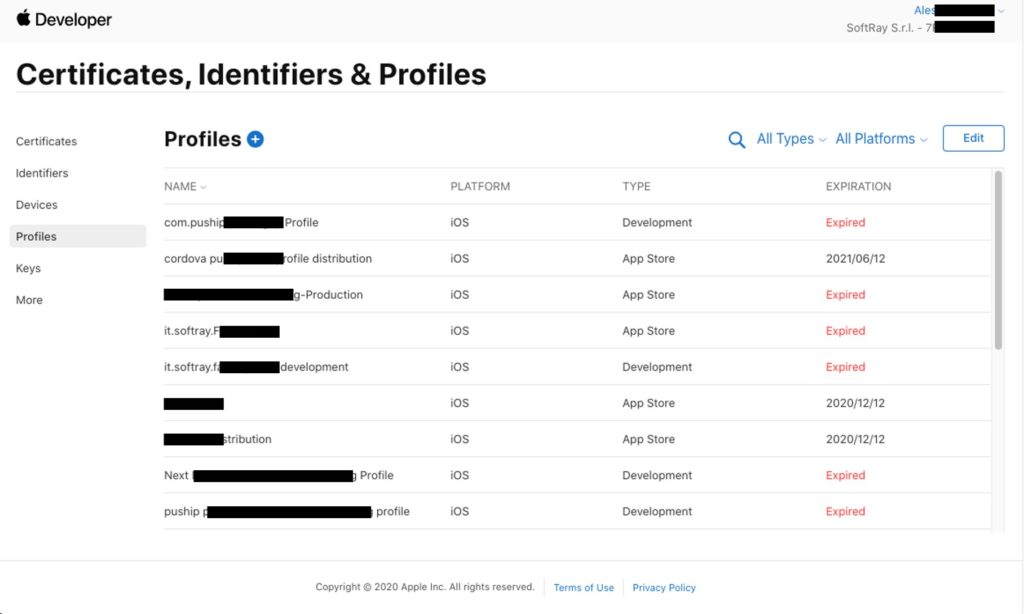
Follows there is a wizard, select App Store as the type of distribution you’re doing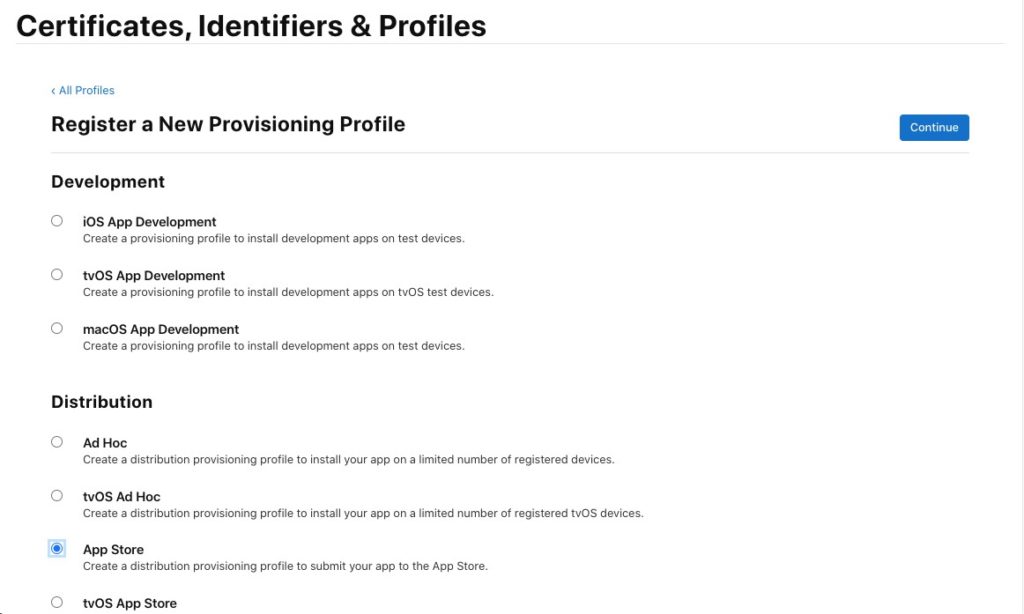
click Continue and select the application for which you are creating the certificate, Now continue and as shown in the next screen, select the certificate to associate this profile.
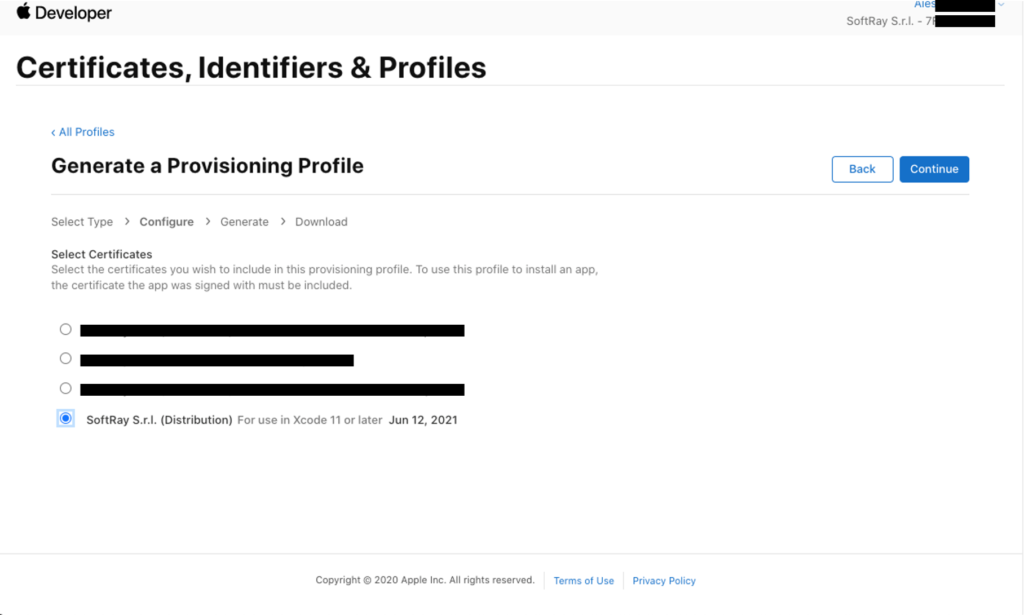
The name of the profile is required and then following screen for downloading the certificate will appear.
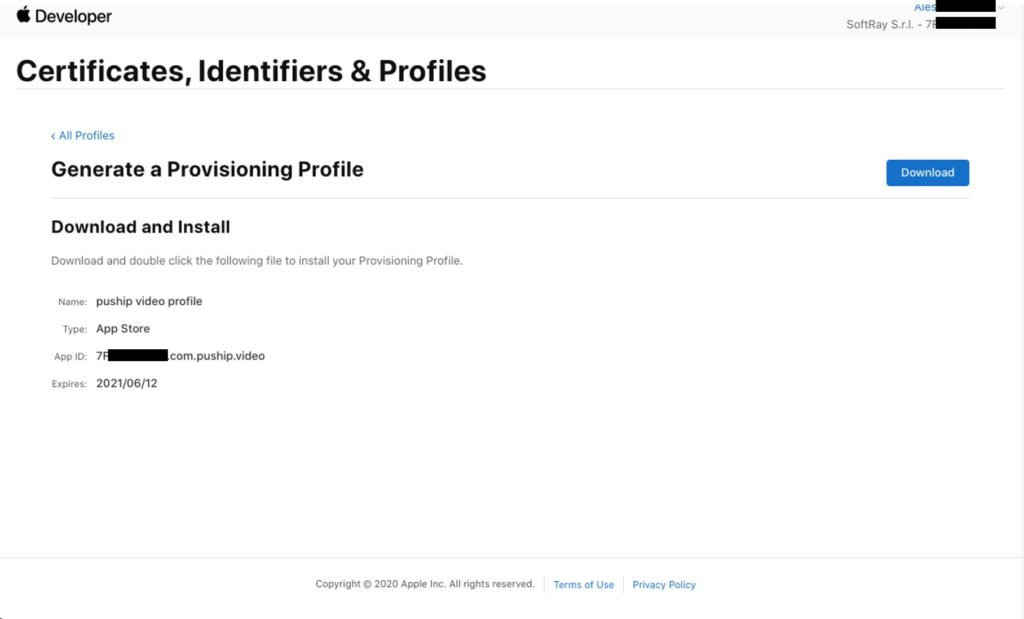
Download the newly created profile and double-click on it to add it to your system’s provisioning list.
Continue with the next steps to build the project
Associated the Profile
On CLI
In the project root create a file named build.json and copy the following text inside:
{
  "ios": {
    "debug": {
      "codeSignIdentity": "iPhone Developer",
      "developmentTeam": "YOUR-TEAM-ID", //Example : 7FSXXXXXXX
      "packageType": "development",
      "automaticProvisioning": true
    },
    "release": {
      "codeSignIdentity": "iPhone Developer",
      "developmentTeam": "YOUR-TEAM-ID", //Example : 7FSXXXXXXX
      "packageType": "app-store",
      "automaticProvisioning": true
    }
  }
}
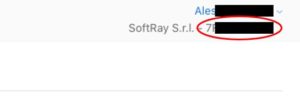
Team ID is the code at the top right of the administration console
The configuration is done and everything is now ready to start receiving push notification!
On Phonegap Online Builder
The configuration on the PhoneGap online builder is quite simple and is explained in great detail at this link.
Google Play
The Google Play account configuration is quite trivial. Google doesn’t even distinguish between development and production environment.
Firebase Project Creation
To create the Firebase Project:
- Open the Firebase Console.
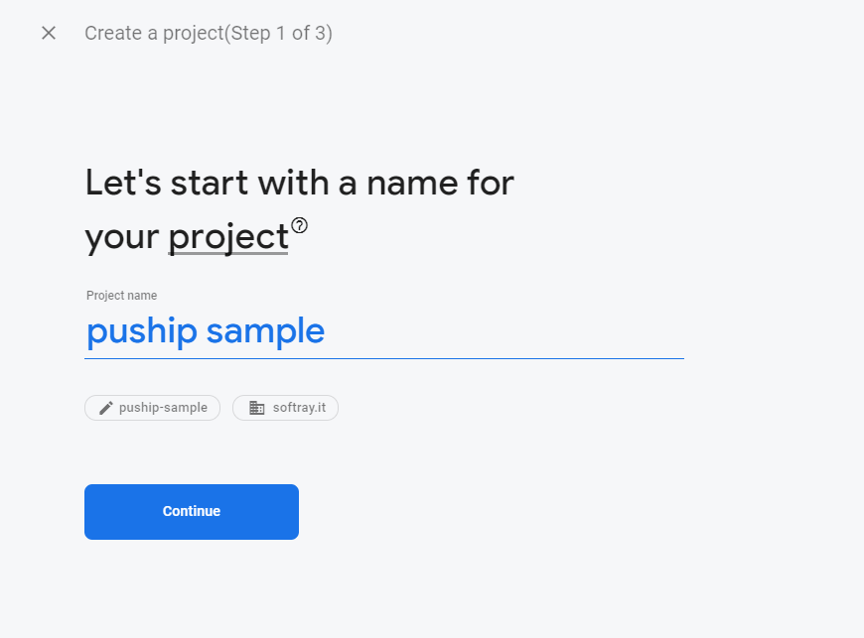
- Click on the Add Project button

- Write the name of the project
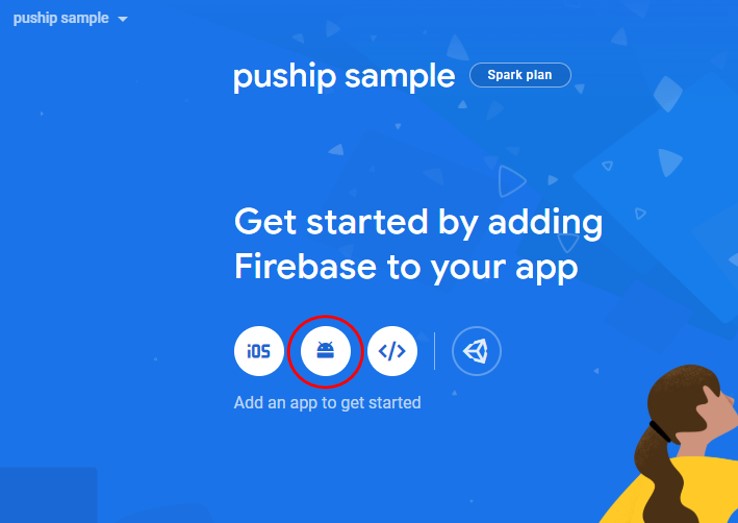
- You will be redirected to the overview page of your project, click on the Android icon.
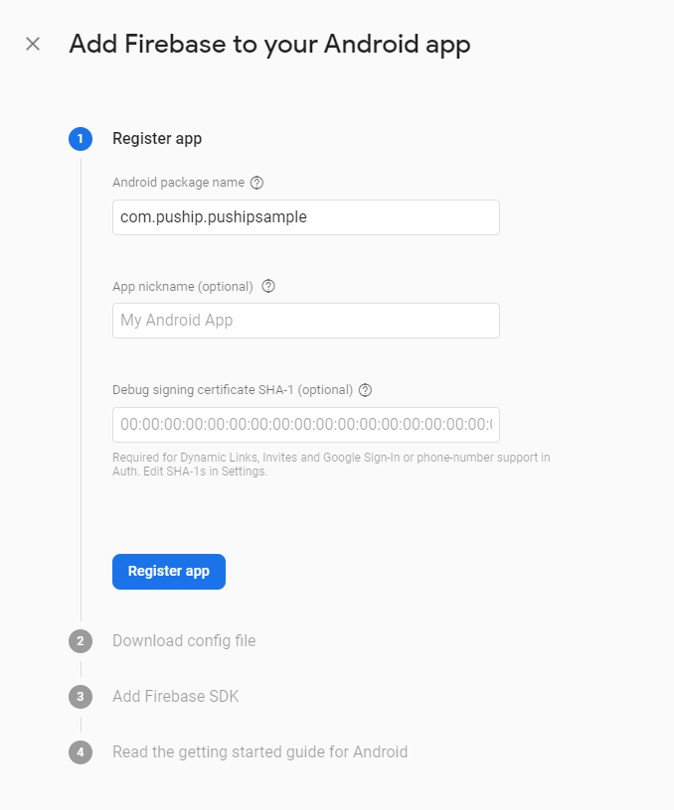
- Write the package that you used for your application (the rest of the fields are optional):
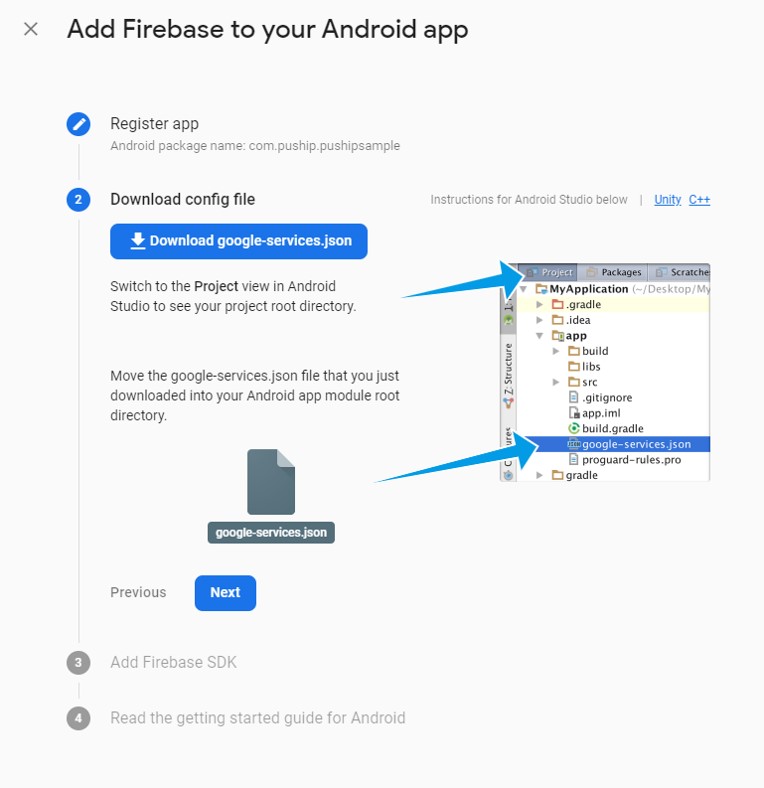
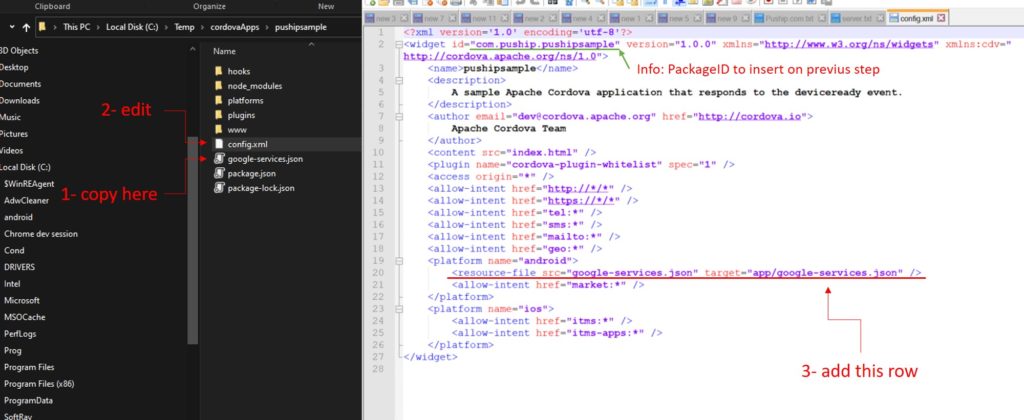
- Download the google service json and copy it to the root of your project cordova/phonegap
- Edit the config.xml file by adding the following line:
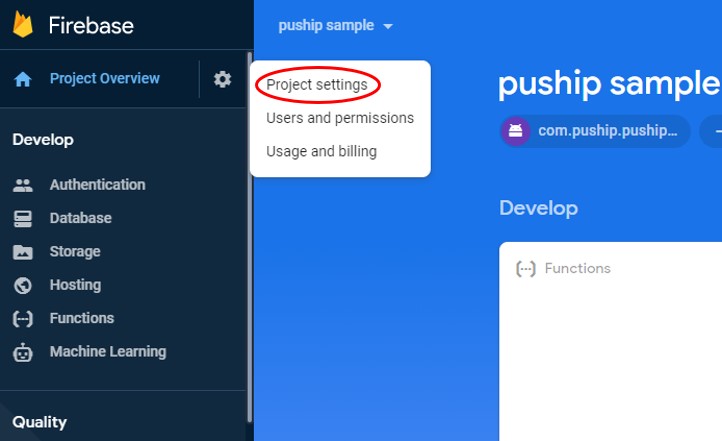
- Complete the wizard (you don’t need to do anything else) and you will be redirected to the application’s administration console. Click on the gear at the top left and then on Project Settings
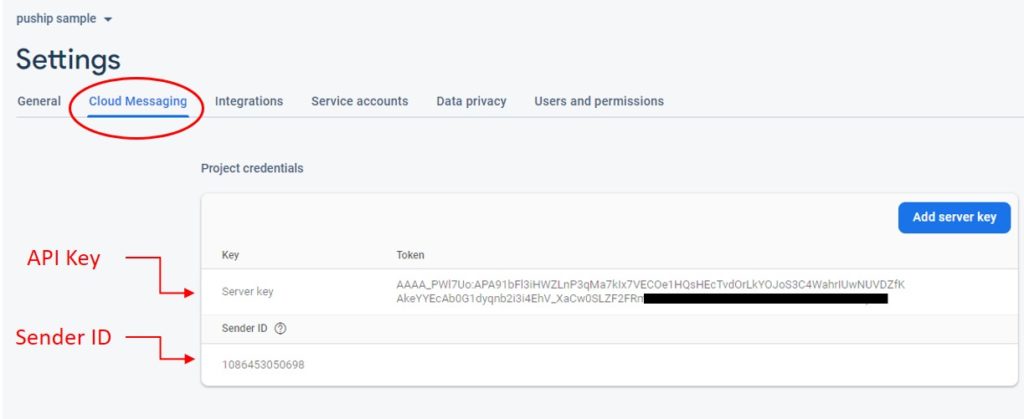
- Now go to the Cloud Messaging tab and take note of the Sender ID and Server Key, you will need to enter them in the Puship server configuration.
Puship Server Configuration
To configure the Puship server:
- If the app hasn’t been created yet, follow point 2.If the app is already present, click on its Configure button.
- Go to the Google Play tab:

- Flag the Enabled field to enable the Google Cloud Messaging service.
- Fill the form using the Sender ID and the API key generated in the previous chapter
- The package name has to be the same of that one specified in the AndroidManifest.xml. You can find this file in your project. IE:
- Check the field Use Firebase (if disabled old API google GCM will used – deprecated)
- Click Save to complete the configuration. The server is now configured to send push notification to registered devices.
Note: This guide is based on the Google official one that can be found at this address.
Windows Store
You do not need any configuration to start sending push notifications. Just configure Puship as shown below.
Puship Server Configuration
To configure the puship server:
- If the app hasn’t been created yet, follow point 2. If the app is already present, click on its Configure button.
- Go to the Microsoft Market tabt:

- Flag the Enabled field to enable the service.
- Click Save to complete the configuration. The server is now configured to send push notification to registered devices.

Notifications
Send
To begin to send push notifications, press the button Send Push Notification, as shown in the figure below 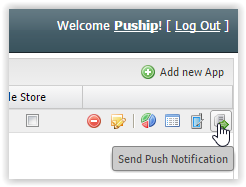
A popup will be shown in which you will be able to choose which are the destination platforms (note that if a platform has not been configured yet it won’t be selectable)
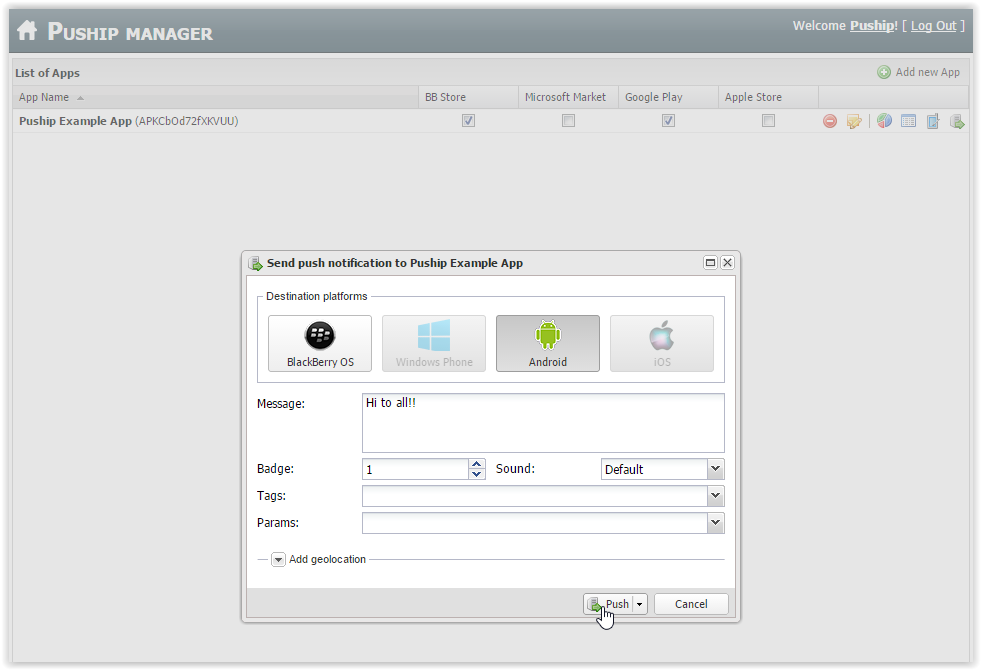
Set the message to be sent, the badge to show and the sound you want to be played once the notification reaches the device. In the Tags field, select the tags to be used as filter for sending push notifications. An empty combo box means that no devices have linked tags to this very Application. If no tags are selected, the notification will be sent to all the devices.
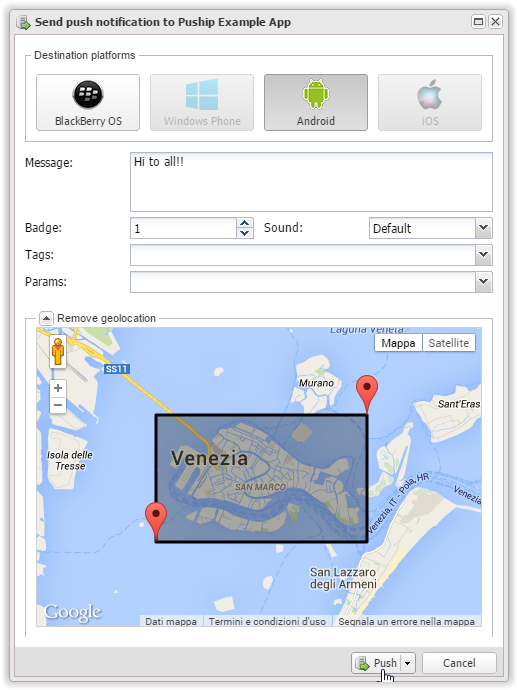
The Add geolocation button enable the dispatch to be done based on the last recorded position of the device, in the next screen it’s shown how a notification will be delivered only to those devices registered in Venice
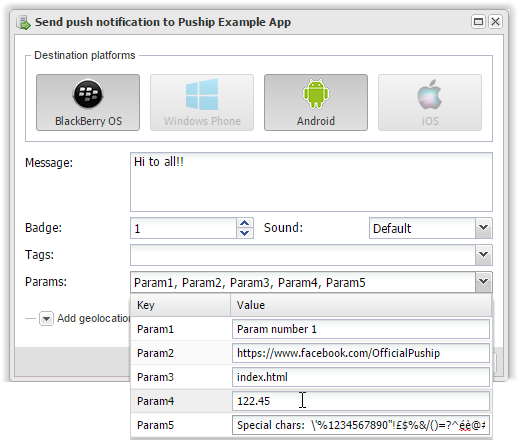
Clicking on Params Combo you can attach parameters to the push. You can insert links, numbers, dates or simple text up to 255 characters.
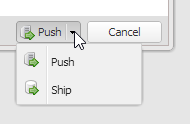
It’s possible to select two different sending mode, the ordinary Push mode, that send the notification and save the message in the database in order to read it later through Puship services; or the Ship, that DON’T send the notification but store the message in the database only. This way could be useful whenever it’s necessary to add messages to the application without notify the user of this action
Once the notification as been sent, a quick resume about how many devices has been reached by the notification will be shown.
Historical records management
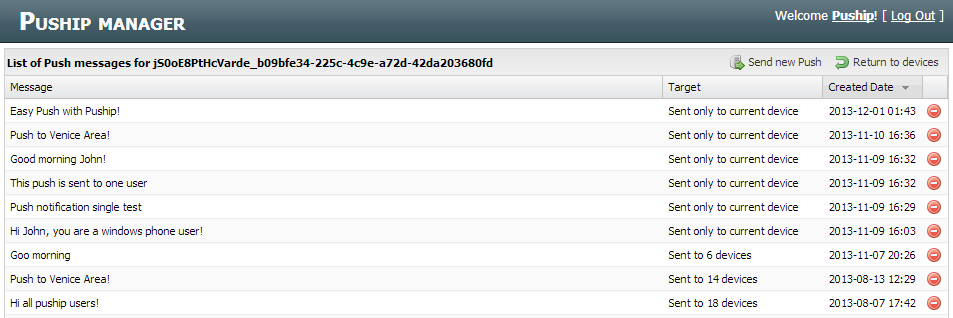
The Manage Push Notification button let you access to the historical record of push notifications
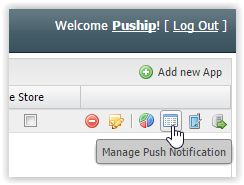
From this section it’s possible to see in details to which devices the notification was sent, its content and the selected Tags.
To do a quick amendment to the message you just have to perform a double click on the text, edit it and once done, the content will be saved. This operation doesn’t send once again the notification but it only changes its content in the Puship database, therefore changing the section that use it in the devices.
.

As you can see in the screenshot, the last column of the Push messages table contains two buttons:
The red one allow the deletion of the message from the database, the other allow to view and modify the notification details other than resend it if needed.
Devices
Viewing
To view the registered devices list, press the Show registered Devices, button as shown in the following picture, 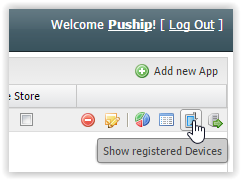
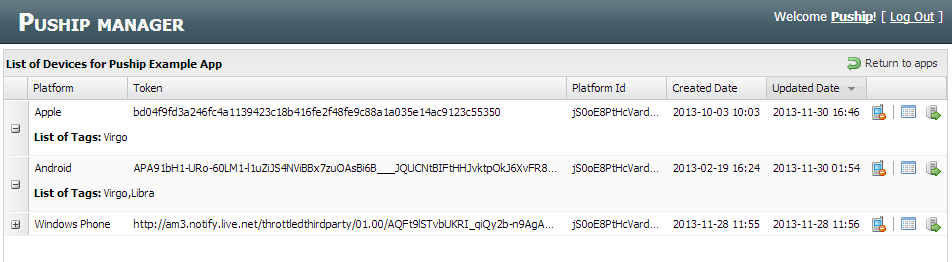
A window containing all the registered devices will be shown. For each devices is possible to open a detail box in which all its associated tags can be viewed.
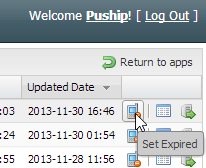
With the Set Expired command shown below, it is possible to temporary disable a device (until a new registration occurs).
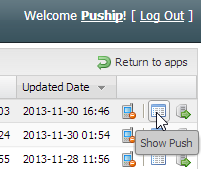
Push History by Device
Pressing the Show Push button it is possible to view all the push notifications that have been sent to the device, the same that can be fetched calling the GetPushByDevice method.
From the page shown in the picture below it is possible to amend the push notifications already sent to the device, delete them and view how many devices that notification has hit and thus how many devices showed the same notification.
Warning! Amendment or deletion of a notification will be reflected on all the devices that share it.
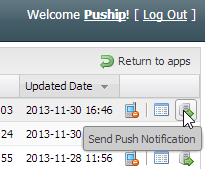
Single Push sending
Pressing the Show Push Notification button it is possible to send a push notification to a specific device
The single push sending doesn’t not show any kind of filter, it’s only necessary to input the message to send and press the Push button

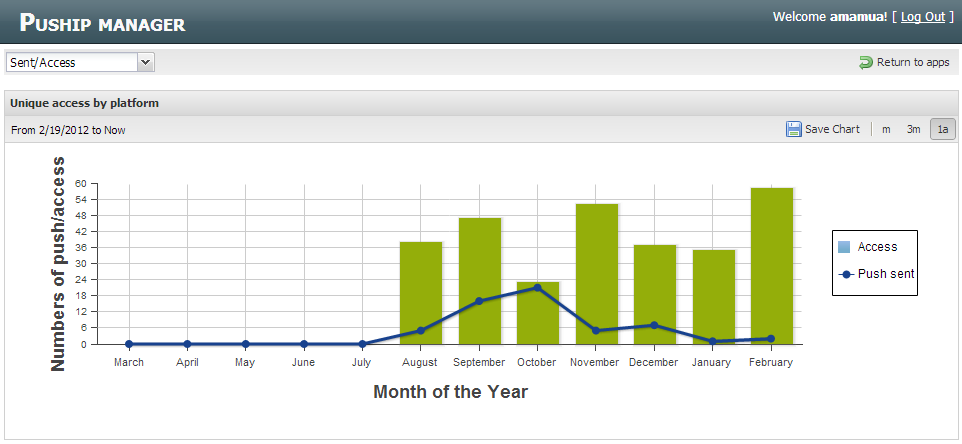
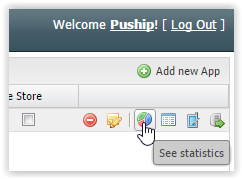
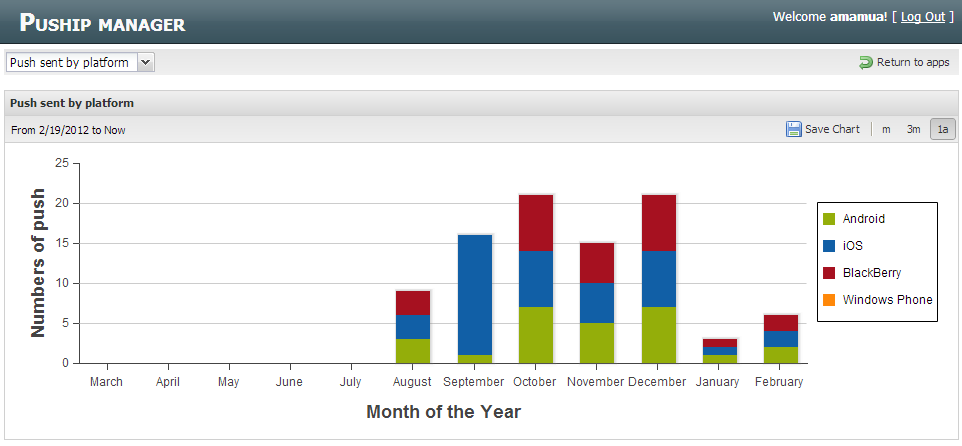
Statistics
For each application we offer a compact reporting system. To access it just click on the See statistics button as shown in the figure below
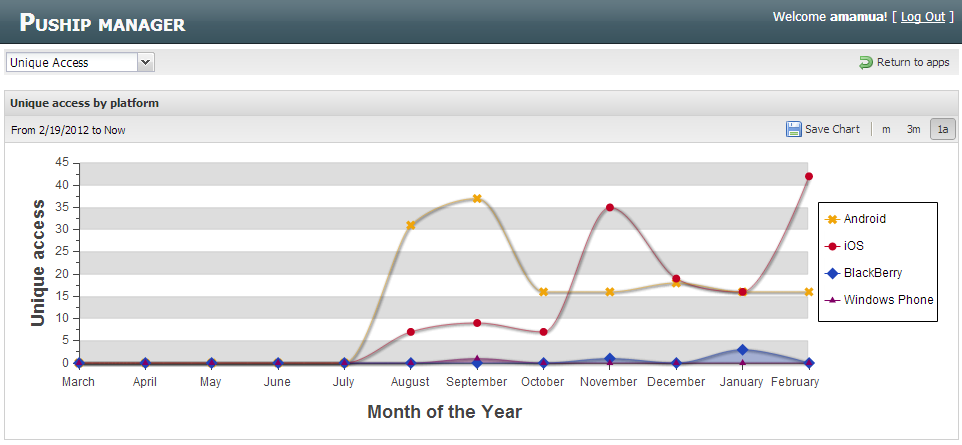
3 different reports are available:
- Push Sent by Platform, show the amount of sent push notifications
- Unique access, show the number of unique devices that used Puship methods
- Sent/Access, where the previous report are overlayed to each other to sho the public based on the push notification sent